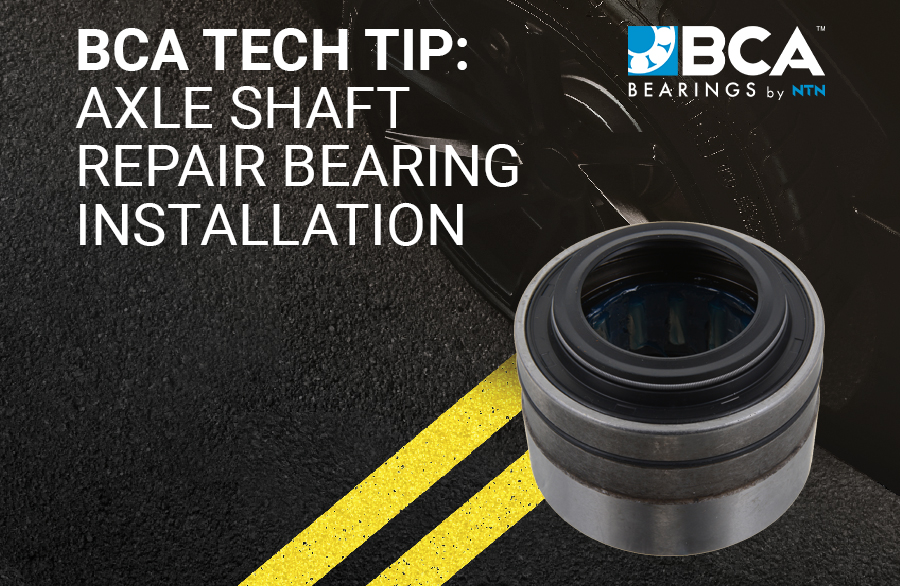
Tech Tips
Axle Shaft Repair Bearing Installation
TECH ISSUE: 
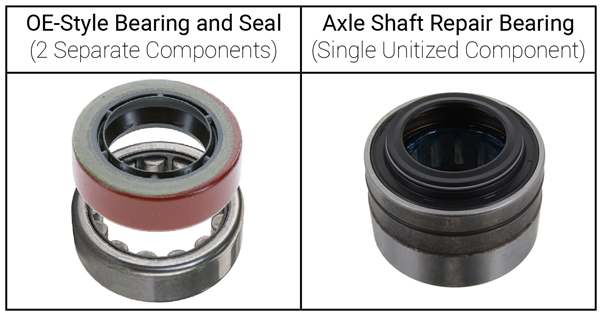
The OE wheel bearing design for these applications are engineered with separate bearing and seal components. Over time, the OE-designed wheel bearing and seal can wear grooves into the axle shaft at the points of contact. This leads to pitting on the axle shaft which can cause noisy operation and bearing failure, and can also cause differential fluid to leak onto the backing plate and brakes.
Generally, this type of wear necessitates the replacement of the axle shafts when replacing the bearing and seal. Failure to do so can result in premature failure of the new bearing and seal, which can cause additional damage to the axle, and even damage the differential due to fluid loss.
SOLUTION:
BCA Axle Shaft Repair Bearings (NBRP Part Numbers) can be used to replace the OE bearing and seal without requiring replacement of the worn axle shaft. Axle Shaft Repair Bearings feature a unitized design incorporating the bearing and seal into a single component. The design of repair bearings shifts the position of the bearing and seal along the axle shaft, allowing for unworn sections of the axle shaft to be the new points of contact.
INSTALLATION PROCEDURE:
- Follow the vehicle manufacturers recommended procedures for removal of the axle, bearing and seal.
- Inspect the axle shaft and axle housing for excessive wear and corrosion.
- Use fine grade emery cloth to clean contaminants and debris from the axle shaft and inner housing. The axle shaft between the worn area and the wheel flange will become the new contact area for the bearing and seal and should be cleaned thoroughly. Debris that remain in the housing may prevent the new bearing from seating properly.
- Lubricate the replacement bearing and seal with clean differential oil using a clean rag or by submerging the bearing in the oil.
- Install the bearing inside the axle housing with the seal facing outwards until it is fully seated. When pressing the bearing into place, be cautious not to press on the seal. Pressure should only be applied to the outer diameter of bearing.
- Re-install the axle shaft and complete the assembly procedure per the manufacturer recommendations.
- Fill the differential cavity with clean differential oil per manufacture recommendations.
INSTALLATION TECH TIPS: 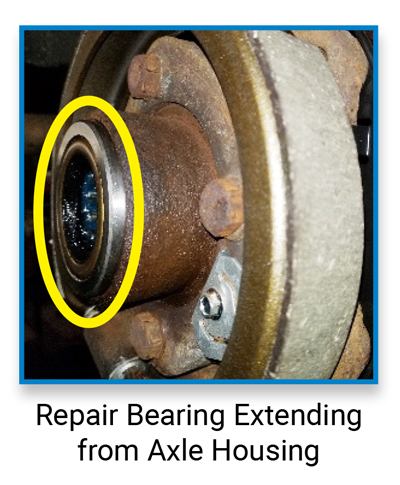
- It is normal for the axle shaft repair bearing to extend up to 1/4” from the axle housing (see figure at right). As long as the repair bearing is fully seated, and the axle shaft can be properly installed, this is not cause for concern.
- When reinstalling the axle shafts, interference with the axle splines and spider gears is a common issue, which can prevent an axle shaft from seating and interfere with insertion of c-clips. If there is an issue with reinstallation of the axle shafts, this is the first thing to check.
* Use our part lookup to find out if BCA Axle Shaft Repair Bearings are available for your application here: https://bcabearings.com/catalog/search/