Tech Tips
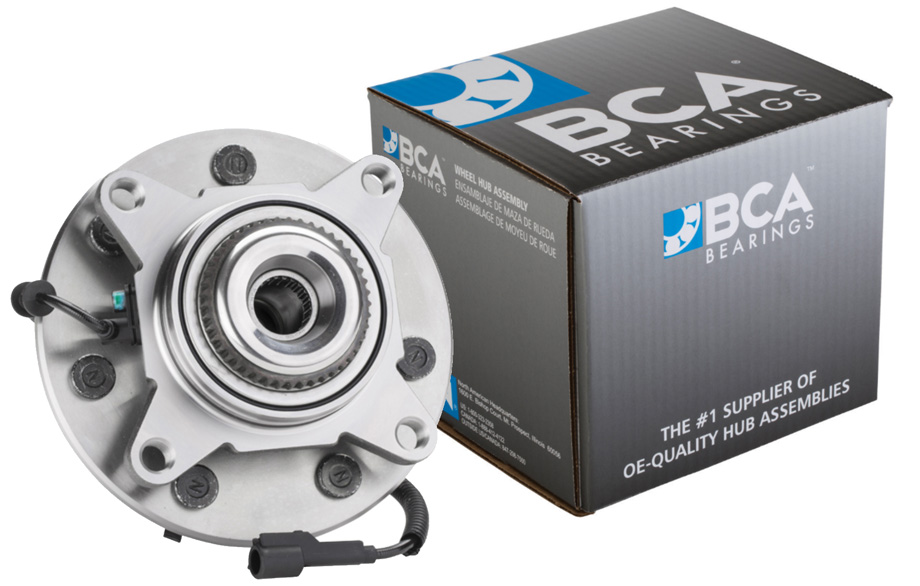
Installation Procedures and Tips for Gen 3 Wheel Hub Assemblies
When Installing Gen 3 Hub Assembly:
(ALWAYS refer to, and follow vehicle and product specifications)
- As precision-engineered components, Gen 3 wheel hub assemblies are susceptible to damage from air-powered and impact tools
- Do not use an impact wrench when installing Gen 3 units
- Use a torque wrench to apply the OE-specified torque value on all fasteners
- Use the manufacturer’s axle torque specifications and recommended installation procedures
- Follow all safety procedures and wear applicable personal protective equipment as needed
Procedure for Removing Gen 3 Hub Assembly:
- Disconnect the ABS connection if vehicle is so equipped. Be sure to take note of how the sensor wiring is routed.
- Raise vehicle off the ground and remove lug nuts and wheel.
- Remove axle nut using an axle nut socket. You may need a breaker bar and/or penetrating fluid to loosen the axle nut; an impact wrench is NOT recommended.
- Follow the OEM procedure for removing the brake caliper. Make certain the caliper it is positioned so that it will not interfere with the installation procedure and that the brake line is not stressed or kinked. This is also a good time to inspect brake pads and rotors for wear
- Remove the brake rotor. Inspect the back of the brake rotor and remove any corrosion with a wire brush so ensure the rotor seats properly onto the new hub assembly. Take care to not damage or contaminate the brake rotor during removal.
- Remove the hub mounting bolts that fasten the flange to the steering knuckle.
- Carefully separate the hub assembly from the knuckle using the appropriate tools.
- Use a steel scratch brush to remove any burrs, corrosion or loose metal from the inner mounting surface of the steering knuckle to ensure proper alignment when the hub is reinstalled.
- Inspect the splines on the CV shaft for damage or signs of wear.
Procedure for Installing Gen 3 Hub Assembly:
- Guide the new hub assembly onto CV shaft and into steering knuckle, ensuring proper alignment. Misalignment may result in premature failure of the bearing. It is a good practice to apply an anti-seize compound to the steering knuckle to prevent the hub assembly and knuckle from seizing together over time.
- Install the mounting bolts that fasten the hub bearing flange to the steering knuckle and torque them to the OEM specifications using appropriate torque wrench.
- Install the axle nut and torque it to OEM specifications. It is recommended to replace the axle nut when installing the new hub assembly. Do NOT use an impact wrench to tighten the axle nut.
- Reinstall the brake rotor and caliper assembly. It is a good practice to apply an anti-seize compound to the mounting surface of the rotor to prevent it from seizing to the new hub assembly. Clean brake rotor surfaces with degreaser to remove any contaminants, if needed.
- Reinstall the wheel on the vehicle and torque the lug nuts to the manufacturer’s specifications.
- Reconnect ABS if vehicle is so equipped using original wiring routing.
Important Note:
In order to ensure proper bearing pre-load, the axle nut MUST be tightened using the OE vehicle manufacturer’s specifications. Failure to apply the specific torque specifications may result in premature bearing failure.